Today was Freaky Friday where I was the kid and Lucas & Arianna were my parents all day. So I let them make all the decisions while I whined about being hungry/thirsty/whatever. It is hard being a kid and having to wait on your parents to feed you since you can’t get stuff yourself. They were oddly eager to have to do the parental chores like dishes and laundry (novelty I suppose) but still decided around 7pm that they just wanted to be the kids again.
I’m really tired but I can’t go to bed because that is just giving in to the oppression (1:30am). Guess I’ll go start a new book. #GrownUpChoices
Tuesday: up at 9am, swim lesson w/ Ali 10-11, grabbed lunch and headed to Cumming for a water playdate with Erin & kids, came home to pick up Allison and headed to Acworth for working in the record store and then dinner at The Old Mill (which I apparently missed seeing Kristie there by about 10 mins), didn’t get back home until almost 8pm, fell asleep at 11:30pm
Wednesday: up at 9:30 to go to the doctor, home for 45 mins, then took kids to Acworth for Lucas’s doc checkup, then lunch at a new restaurant, then got haircuts for the kids and worked at the record store, followed by dinner with Kristie, didn’t get back until 9:30, about to fall asleep sitting here
Thursday: up at 9am, swim lesson w/ Ali 10-11, grabbed lunch leftovers at home, headed to Acworth w/ Ali to work on the record store, ending with fooood
I was going to type a bunch more than this but never did so this is all you get, Diary
We did a few crafts this rainy Saturday afternoon. I really love doing crafts with the kids…just usually they don’t listen and don’t wait and then get upset when their stuff is messed up. The kids were really well behaved today and I didn’t lose patience with them (barely at all). If crafts keep going this well, I might start doing them more often.
Project 1, painted circles:
And here are their versions:
Pinjects
Project 2, Father’s Day cards:
This was Lucas and Arianna’s idea. Arianna wanted to paint handprints, Lucas suggested making cards for Daddy, and then I found the saying on Pinterest. Lucas got out the cardstock (I folded) and then he and Arianna painted each other’s hands and made the cards. It was almost an entirely self-done project. Big kids rock!
Project 3, Rainbow Slime:
This stuff was awesome. Easy to make and so squishy. I had the supplies on hand from back whenever I first pinned these projects.
As part of my home clear out, clean out, and organize spree (is it a spree if I’m only on my second project– granted the first one was a doozy?), I turned to Pinterest to read up on the proper way to arrange my shelves. Mine were crammed and blah. I had everything of the same type on the shelves together so no piece was noticeable. Everything was the same height across the shelf so there was no visual interest.
To mix up the dragon and fairy collections, I finally opened the massive box of framed photos from the move three years ago. This turned into an all afternoon project getting everything sorted, dusted, and re-arranged, but I am pleased with the results.
I’ve been on a productivity kick this week. Cleaning (and keeping clean), organizing, and following through on Pinterest pins.
I made a This Week folder and moved ten pins that I wanted to accomplish this week.
I tried making a magnet holder for my fridge using some magnets I had in my craft supplies and a drawer organizer I bought for .50 at the dollar store. The magnets weren’t strong enough to hold it (is there a way to measure a magnet’s strength?) so that was a bust.
I organized 2.5 drawers from the scrapbook room that were full of old cards (ok so really I should throw them away but I’m not there yet) and misc stuff. I made folder pockets and sorted them by year. I also got binders and sorted through all the kids’ papers I’ve kept to make binder scrapbooks. Memory Binders
On a shopping trip to Target I impulse purchased two Frozen tote bags from the $1 spot. I have zero need for these tote bags as I already have tons, but they were Frozen and Only $1. So I had an idea to turn them into storage tote bins instead. I cut a cardboard sheet from a shipping box to fit into the bottom. Then I cut little strips and stapled them to the top rim to hold the, open. I might come up with a better solution than the staples for long-term, (I have some cute brads perhaps) but the staples worked for a quick and easy.
Did you know you are supposed to wash your washing machine? Never occurred to me until I came across a How To pin on Pinterest. Our machine is around 30 years old and probably was never washed in all that time. It had nasty soap scum gunked up everywhere, but it was one of those things you don’t really notice or think about. I was really impressed with how much nicer it looked and how easy it was to scrub off the gunk with a toothbrush once I’d gotten the hot bleach soaking. How to Clean the Washing Machine
So I started working on a Pinterest project to make pencil boxes. Lucas wanted to make a project of his own. He got paper and told me he was making the design for his project. Then he showed me a rectangle on the piece of paper and asked for a box that size.
Then he asked me for a glue stick to glue the bottom together, but I one upped him by using hot glue to hold it together. Then he wanted to cover the box in paper (kinda like what I was planning to do…cover my boxes with scrapbook paper), but he wanted white paper so he could “draw my favorite things on the box.”
We worked together taping white paper around the snack box and he even said “sorry for taking your time from your project to help me with my project.” I told him I didn’t mind because that was what mommies do. He then asked me about my favorite things and also drew a picture of our family.
Then when he was done he surprised me by saying he made the box for all our DVDs that are all over our mantle to clean them up and be organized. I was thrilled because not only did he make something for me, he did it pretty much entirely on his own, his own ideas on how to do it, and even had a purpose in mind for it that legit helped me organize something.
Arianna of course wanted in on the action as well. Here is the box she decorated.
“Rose Petal Place began a long time ago when a girl was moving away from her lovely home and garden. She cried for her beloved garden because no one would be there to take care of her flowers. She didn’t want them to perish so she made a secret wish that the flowers would live forever. Out of this magical wish, combined with her tears of love, brought Rose Petal and all of her friends to life. They still reside in this garden tending the little girl’s flowers.”
My mom loves to garden. She plants beautiful gardens each year. Me? I have a necrotic, black thumb. In the movies, they say that after rehab the first step is to have a plant and keep it alive before moving on to a pet. Never made any sense to me, because a cat will certainly let you know when she is hungry. Repeatedly, incessantly, in-your-face. Plants sit there mutely and wither and die because I won’t ever remember to give it water. Or the right sunlight. Or dirt.
So as a kid, Mom was often taking me to Pikes nursery to get plants for the season. One year, middle school age max, Mom went to get rosebushes for the side of the house. She got some yellow ones. And despite them being expensive (as in more expensive than a $3 impatien or whatever), she let me choose a rosebush – whatever one I wanted, to put wherever I wanted.
I picked this pretty pink bush called a Tiffany rose and instead of putting it with all the other roses outside the dining room window, I wanted it in this tiny triangle of dirt that separated the drive way from the back steps – right where you go up into the house. And it *thrived.* I think Mom’s actually eventually died or got replaced or something, but this pink rosebush bloomed right where everyone walks by every day for the next 20 years.
So when my Dad sold the childhood home this summer, I requested he dig up my Tiffany rose so I could keep it and replant it at my house. Mom was like, “you can just go buy a Tiffany rose at the nursery right near your house.” But I didn’t want a Tiffany rosebush, I wanted THE rosebush that sat by our steps for decades.
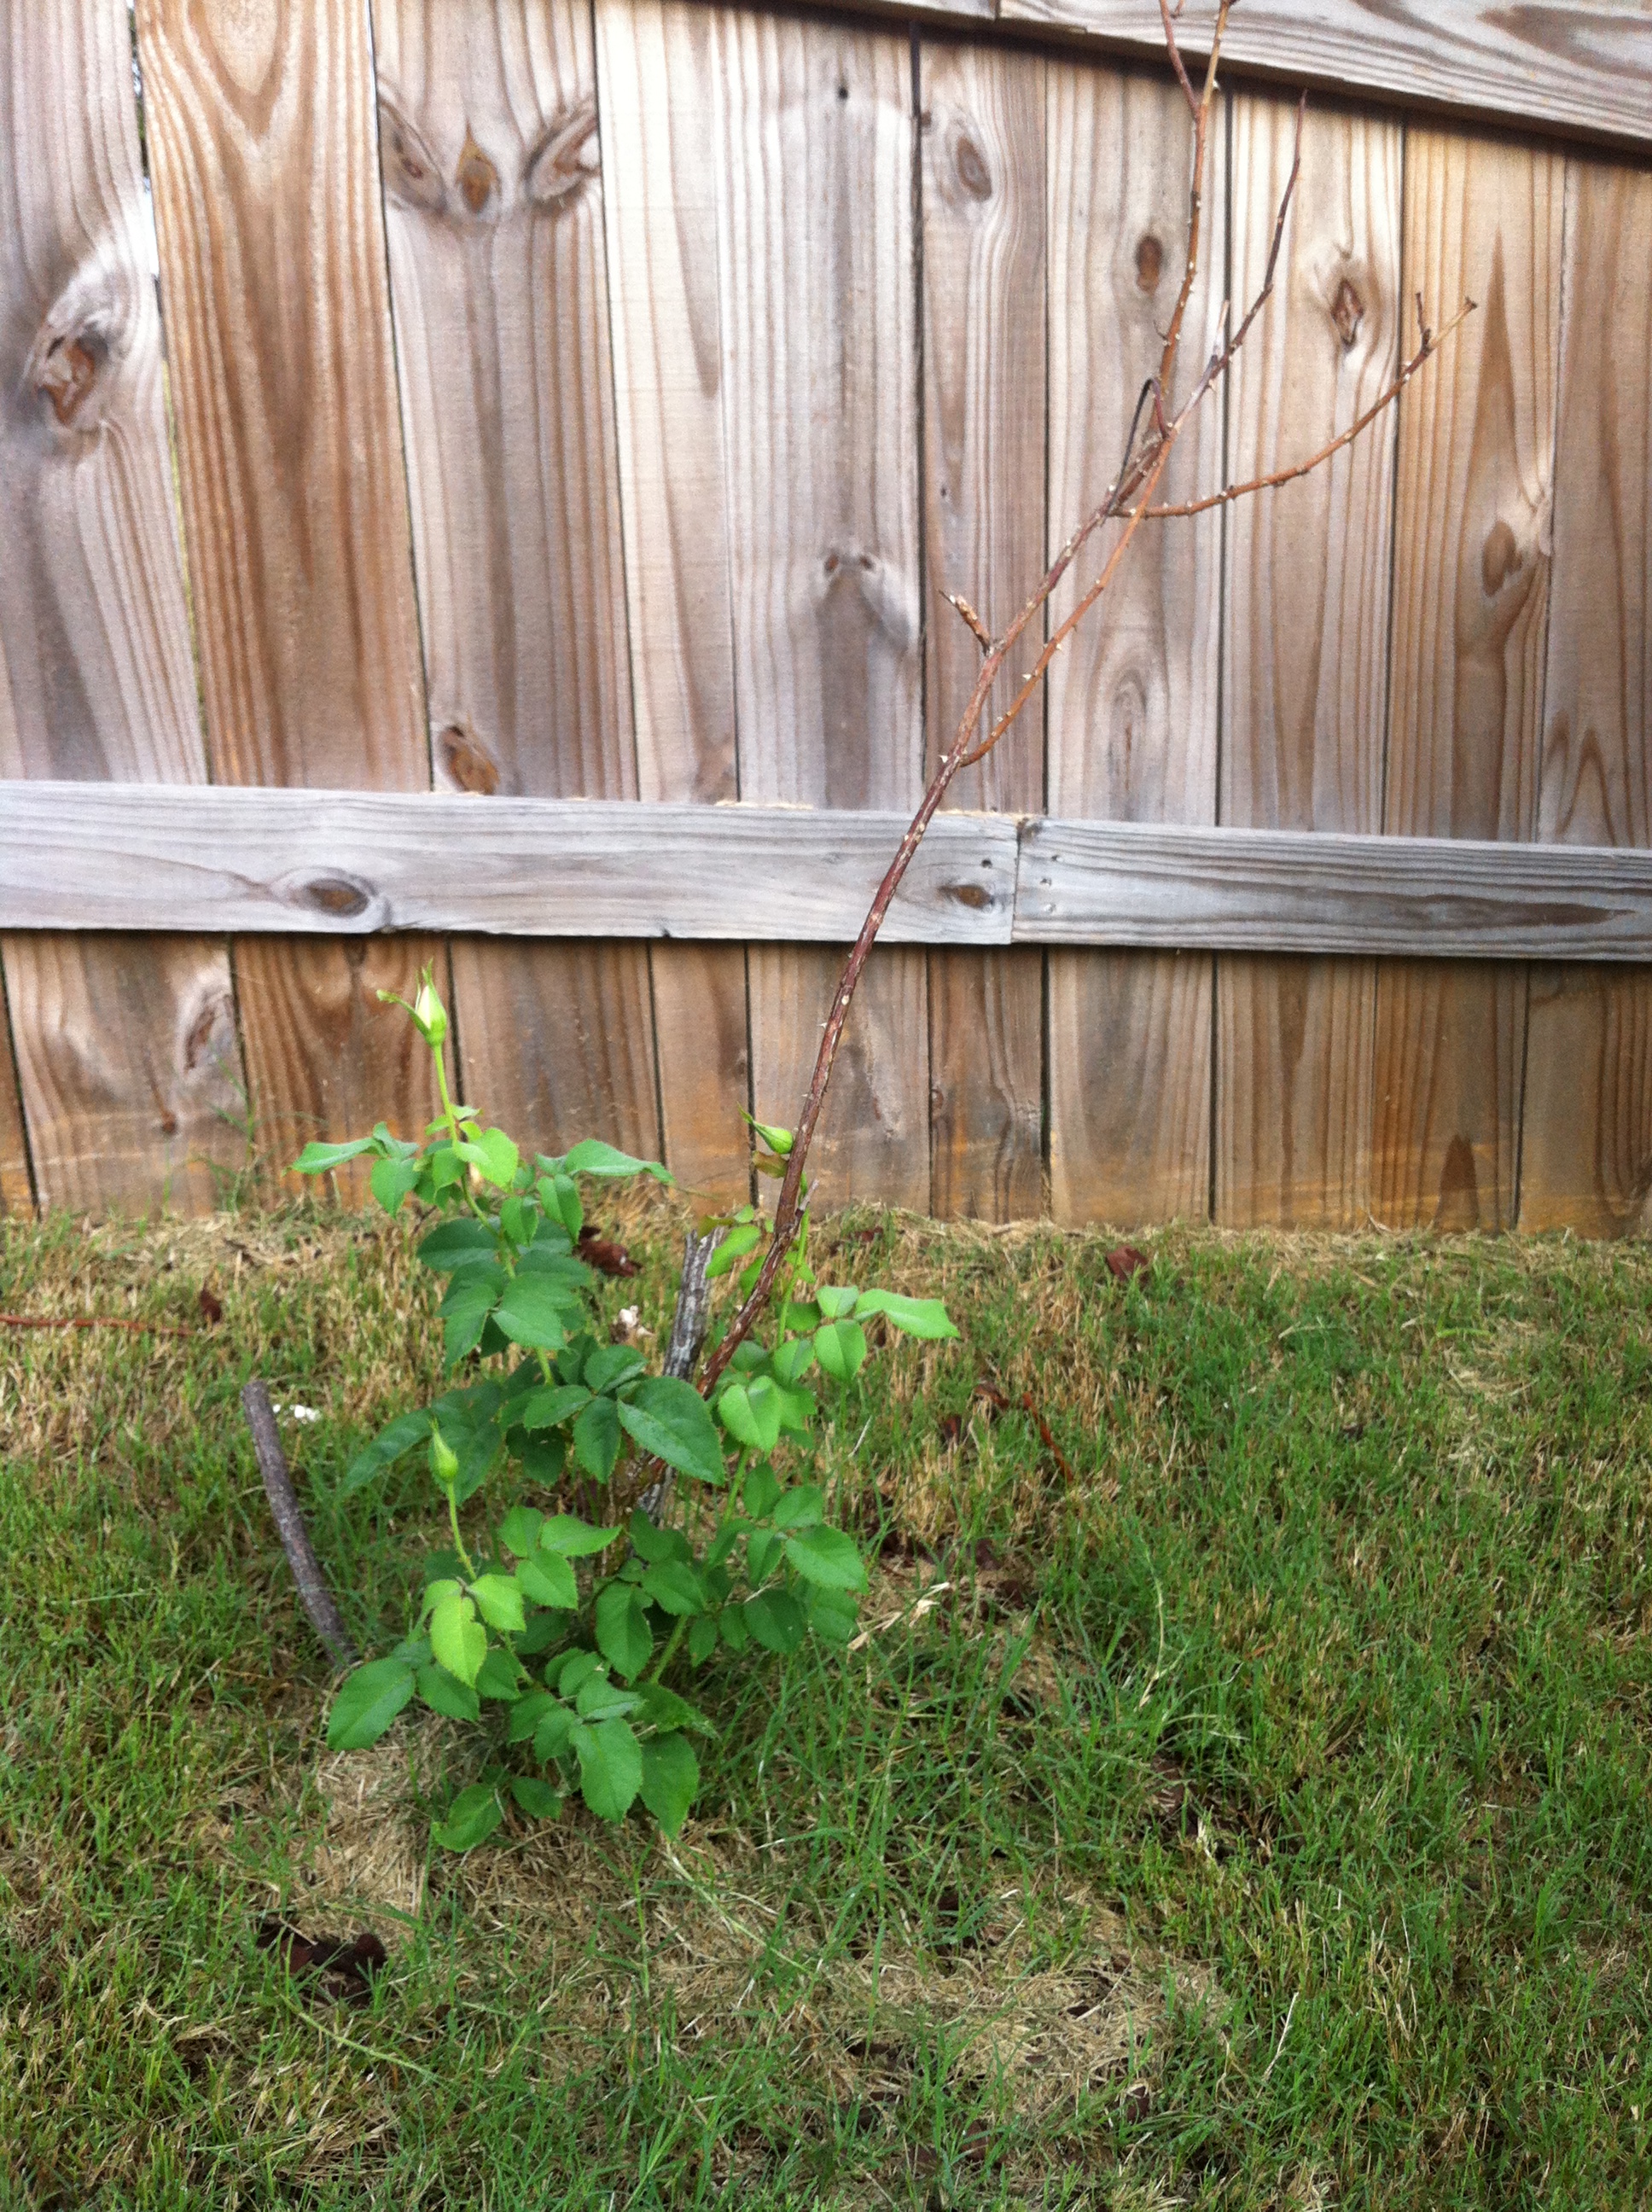
So my dad kindly dug it up and bagged it, and I brought it home where my husband planted it in the backyard by the gate. But…I know nothing about planting stuff, or where to plant stuff, or how to make poor, chopped up old rosebushes grow in a new place. And despite nearly daily watering, one by one I watched the three main stalks of the bush turn brown and die. I was so disappointed. I gave up and stopped worrying about it.
About two weeks ago, Paul said he thought the bush was bouncing back. I had seen the green growth at the base of the plant from the upstairs window and told him, no that is just a weed growing up next to it. Paul said he didn’t think it was, but it was definitely next to the plant, not growing from any of the stems. Until I actually went down and looked at it…
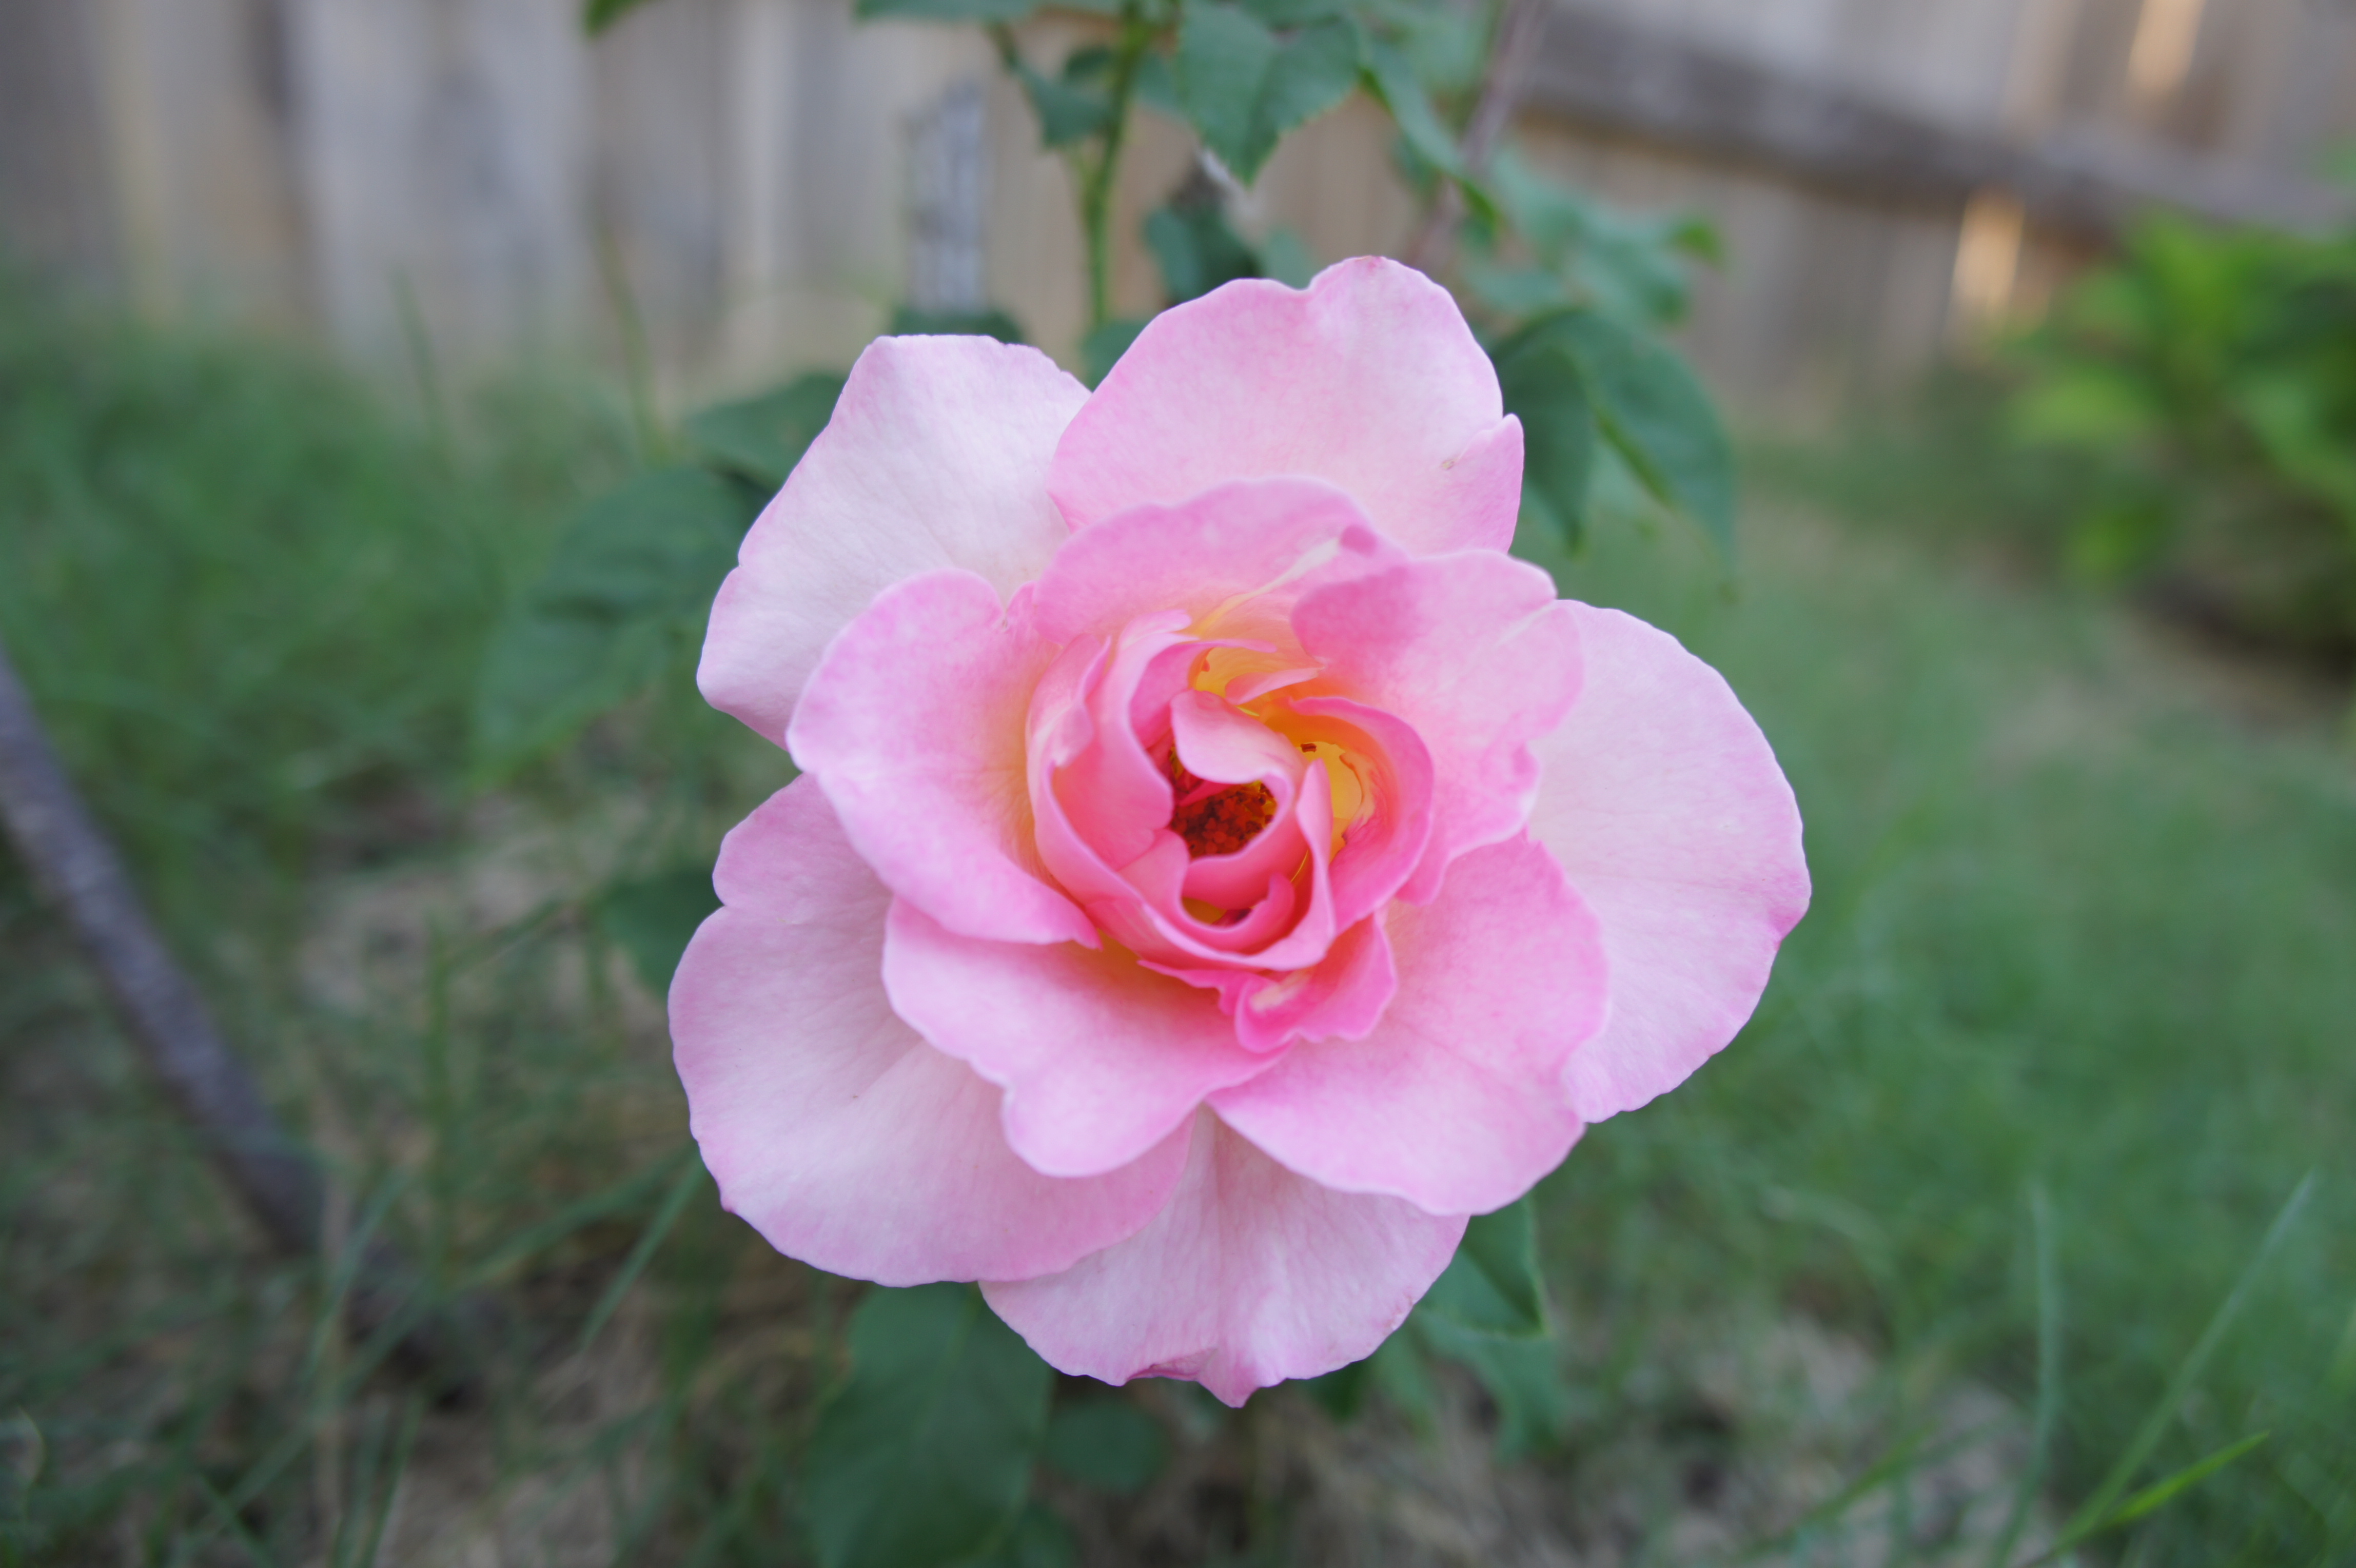
That’s not a weed – those are rosebuds! I was so excited that it had managed to start growing again after all, that it didn’t even process that rosebuds turn into actual roses. Today when I went to take the kids out to play, Lucas says, “Look Mommy!”
And there they were…three new Tiffany roses bloomed.
I know, I’m 33 and I actually have never tie dyed. It’s like one of those super common kid activities that I somehow never got to do. Not that I really cared.
So at school they are doing color days and each week the whole school wears a certain color. This was fine the first week when we did red, blue, green. But this second week we have days for pink and purple. Unsurprisingly, Lucas (and Landon) do not own anything pink or purple. At first I was going to check the consignment sales for cheap pink and purple shirts. But then I had the idea to make a tie dyed pink and purple shirt and he could wear it for both days.
I saw some cool examples that included a lot of black, which helps make having a pink and purple shirt look more boyish, and today we made some shirts.
The first one Lucas made was a black to purple to pink ombre. This isn’t really tie dye, just dying. You lay the shirt flat and brush the colors downward. I’m pretty pleased with the result, especially with it being my first go. Only issue was that when it was hung upright, the purple started bleeding down into the pink, so the pink section ended up being pretty small. I should have left it flat. Pink day isn’t until Friday, so after he wears it doe purple Monday, I’ll dump some more pink dye at the bottom to try to brighten the pink section. After I let it set for about 6 hours, I noticed that the colors bled out more for a nice smooth, even look – you can’t see the brush strokes anymore. The black bled to a greenish color, so now it is black-green-purple-pink. After i washed and dried it, I noticed a lot of color leached from this one. I think this is a combination of the smoother fabric of this shirt as well as that the colors were watercolored on rather than soaked in the dye.
The second one was done in like two minutes time because a storm was quickly approaching and I was just trying to get it done. It involved rolling the shirt top to bottom around a tube, scrunching it inward a little, and then dousing it with dye in different sections. I kept this one in a ziploc bag, and a few drops of purple got elsewhere on the shirt, but it came out okay for the most part. It seems the coarser cotton fabric of this one held the dye better than the soft blend of the first shirt. Just wish I’d had more time with this one.
All in all I’m pleased with my first attempt. When I have more time I’d like to actually try to make designs instead of just three solid sections of color.